If you are in zone 7, it is important to know when to plant potatoes in spring. They thrive in cool soil, and require regular watering to keep them healthy. Before you plant, make sure the soil and mulch are moist. You may also need to provide some shade if your area is particularly warm.
Last frost date
In zone 7, the last frost date when potatoes can be planted is between March 7 and April 7. However, the date may vary from year to year. Some areas have two weeks between the last frost and the planting date. You might be better off planting potatoes in areas that experience frosts less often than others.
Even though frost dates are a reliable guideline, they cannot account for unexpected weather. Plants can be damaged by unusual weather conditions, such as a sudden and unexpectedly warm period during the cold season. Additionally, the frost dates can vary by a week within the same zone. Therefore, it is important to carefully monitor the weather in your area and monitor the reaction of your plants to these changes.
The USDA's Plant Hardiness Zone Map can also be a useful tool. This map can give you the last frost date for your area. Interactive, you can enter your zip code to see which zone your locality falls into. This map also displays the frost dates applicable to different areas.
The date of the last frost to plant potatoes in zone 7, 7 can vary year to year. Some potato varieties and vegetable varieties can withstand cold temperatures, while others are extremely sensitive. Avoid frost damage by planting your potatoes two weeks earlier in spring or two more weeks earlier in autumn. It is vital to distinguish frost from freezing. Some plants can tolerate light frost while others cannot withstand a deep freezing.
Planning your garden well in advance of the last freeze date is critical for your success. To get ahead of the growing season, it is a good idea to start seeds indoors. It is important to know when you should transplant your seedlings so that they grow healthy and produce a good yield.
Preparing the seed potatoes for planting
Preparing the seed potatoes for planting is an important step. You should cut the seed potatoes into small pieces with at most two "eyes" per section. An "eye", also known as the sprouting region of the potato, is a section of seed potatoes. The eye is taken out of potatoes when they are cooked. A potato plant has three or four eyes.
Seed potatoes should be planted in the soil at a depth of two to three inches, with a spacing of 24 to 36 inches. It is important to remember that a light frost may kill off new growth above the soil line. In the absence of light frost, however, the plant will not be damaged. Seed potatoes mature quickly and grow foliage quickly.
Saving seed potatoes to plant is a smart move. You will be able to enjoy the bounty of your seeds potatoes for many more years. You can also preserve them for future generations. Remember that potatoes are susceptible to viruses and disease, so it is important to purchase USDA Certified Seed Stock. This will ensure that your potatoes grow correctly and yield maximum yields.
Despite the fact potatoes can grow in many soil types but they thrive in acidic soils that have a pH of 5.0 - 7.0. Even if they are grown in an alkaline soil, they will be vulnerable to soil-borne diseases and pests. Some potatoes purchased at grocery stores may have been treated for growth inhibitors. These conditions can reduce the effectiveness of your harvest tubers.
The soil type is very important when growing seed potatoes. Zone seven permits seed potatoes to be planted in the late January or early March. The best time to plant seeds potatoes is when the soil has dried and is not frozen. This date can change depending on the year, so you should check your area before planting.
New potatoes are harvested
Harvesting new potatoes is an important part of potato growing, particularly if you plan to store them in the winter. Although potatoes can be harvested as soon as 16 weeks after they are planted, it is important to protect the roots. They will produce a smaller crop if they are not harvested.
Harvesting potatoes should only take place when they are young and thin-skinned. Each tuber should be gently extracted one at time. The tubers should be approximately one to two inches long. This will allow for you to taste the first potatoes you grow.
You should save the seeds after the first crop has been harvested. They should be kept in a sunny, warm place with moistened burlap and paper towels. When the seed potatoes are ready to be planted, make sure they are at least three to four inches deep.
Potatoes can be described as tubers that contain flavorful starch. Dig a test hill in order to determine when potatoes will be ready for harvest. A mature potato should have thick skins. It is best to let the potatoes sit in the ground for several days if the skins appear too thin.
Zone 7 potatoes do best when planted in the middle of winter or early spring. This allows the soil temperatures to warm up enough for potatoes' growth. The growing season for potatoes typically ranges from 90 to 120 days, depending on the variety.
Harvesting mature tubers
Place potatoes 36 inches apart in rows when you plant them. Plant potatoes six to eight inches apart, and make sure that they are at least 8 inches apart. You should not plant potatoes next to other vegetables as they can be infected with the same diseases. Make sure the soil is evenly moist. Too wet soil can cause cracks or rotting of the tubers.
When the tops are gone, harvest potatoes. It is best to wait several weeks before harvesting potatoes. This will protect them from sun damage. Once harvested, store them in a dark place, where they will be less likely to be ruined by the first frost.
When you plant potatoes from seed, it is important to choose healthy seed potatoes. Next, break up the tubers. Make sure you choose seed potatoes with at most one eye. The cut potatoes should be dried for a few more days before being planted. In addition, if planting potatoes from seed, you should add plenty of compost to the soil. Potatoes are most successful in soil pH between 5 and 6. It should be well-drained. The trench should be 20-30 cm in depth.
After potatoes have reached full maturity, it is important to keep them in a cool, dark place at 50-60 degrees Fahrenheit. This temperature will stop tubers shriveling, sprouting, or from becoming damaged. You can also save your tubers to plant next season.
South Florida is a good place to grow potatoes. Potatoes are very easy to grow and can easily be grown for friends and family. You can grow potatoes in the summer months by planting early-maturing varieties. They are an excellent source of antioxidants.
Mulching improves water retention
Mulching is a good gardening practice. It can increase the soil's water retention, which can make it easier to plant potatoes. One study found that mulching had a 47.5% increase in potato yield and growth, as compared to plants with no mulch. The results of that study also showed that row covers and plastic mulch improve the growth and yield of cucurbits and melons. Soltani et. al. 1995 discovered that melons and cucumbers yielded more when they were grown in mulch than those with no mulch.
In both growing seasons, tubers could be sown by hand on February 9th. Before planting, soil should be plowed and leveled. After planting, polyethylene mulch was spread over the beds and remained until the end of the growing season. Standard agricultural practices were used, such as weeding and spraying pesticides seven days a week.
These studies also show that planting potatoes with a 60% mulching regimen improves yields. Higher potato tuber yields are possible due to soil retention of more water and nutrients. Research by Biswas and al. also shows that mulching has a remarkable effect on the soil/water-plant relationship.
Mulching reduces the soil moisture loss and salt content, which in turn increases yield. It also improves soil temperatures, resulting in more efficient photosynthetic processes and greater yield. Mulching helps reduce soil temperature fluctuation, which impacts water vapor fluxes along the soil-atmospheric boundary.
On the contrary, inorganic soil mulches have been shown not to affect soil moisture. Studies using inorganic mulchs revealed that higher moisture content resulted both in reduced aeration as well as decreased oxygen diffusion into the root zone.
FAQ
When is the best month to plant a vegetable garden in my area?
The best time to plant vegetables are from April through June. This is when the soil temperature is highest and plants grow most quickly. You might want to wait until July/August if you live in a cold area.
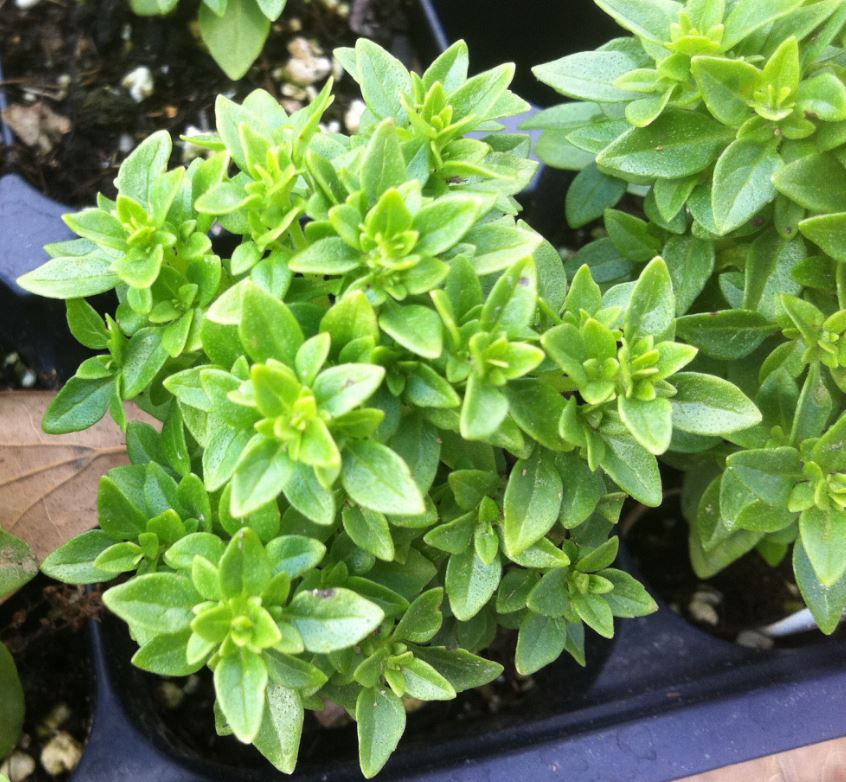
When should you plant herbs?
Spring should be when the soil temperature reaches 55 degrees F. The best results are achieved when they are in full sunshine. Plant basil indoors by placing seedlings into pots containing potting mix. Keep them out of direct sun until they sprout leaves. After plants begin to grow, you can move them into indirect sunlight. After three to four weeks, transplant them into individual containers. Keep them hydrated.
How do you prepare soil for a vegetable gardening?
Preparing soil for a vegetable garden is easy. First, you should remove all weeds around the area where you want to plant vegetables. Then, add organic matter such as composted manure, leaves, grass clippings, straw, or wood chips. Then water the plants well and wait for them to sprout.
Which seeds should I start indoors and which ones should I avoid?
A tomato seed makes the best seed for indoor planting. Tomatoes are easy to grow, and they produce fruit all year round. It is important to be careful when planting tomatoes in containers. Planting tomatoes too early can lead to soil drying out which could lead roots to rot. Plant diseases like bacterial disease can quickly kill plants.
What is a plant calendar?
A planting schedule is a list listing the dates when plants should be planted. The goal of the planting calendar is to increase plant growth while minimizing stress. So, for example, spring crops such as lettuce, spinach, or peas should not be sown before the last frost date. Later spring crops include cucumbers, squash, and summer beans. The fall crops include potatoes and carrots.
Statistics
- Most tomatoes and peppers will take 6-8 weeks to reach transplant size so plan according to your climate! - ufseeds.com
- According to a survey from the National Gardening Association, upward of 18 million novice gardeners have picked up a shovel since 2020. (wsj.com)
- 80% of residents spent a lifetime as large-scale farmers (or working on farms) using many chemicals believed to be cancerous today. (acountrygirlslife.com)
- According to the National Gardening Association, the average family with a garden spends $70 on their crops—but they grow an estimated $600 worth of veggies! - blog.nationwide.com
External Links
How To
How to plant tomatoes
How to plant tomatoes is to grow tomatoes in your garden or container. To grow tomatoes, you need patience, love, and knowledge. Many different types of tomato plants are available online and in local stores. Some require special soil; others don't. The most commonly grown tomato plant is the bush tomatoes. They grow from a small base ball. It's easy to grow and very productive. You can start growing tomatoes with a starter package. You can find these kits in gardening shops and nurseries. These kits contain everything you will need to get started.
There are three main steps when planting tomatoes:
-
Choose a location where you want to place them.
-
Prepare the ground. This involves digging up dirt and removing stones and weeds.
-
Place the seeds in the prepared earth. After placing the seeds, water thoroughly.
-
Wait until they sprout. Then water again and wait for the first leaves to appear.
-
The stems should be able to reach 1 cm (0.42 inches) before being transplanted into larger pots.
-
Continue to water each day.
-
Harvest the fruits when they are fully ripe.
-
Fresh tomatoes can be eaten right away, or stored in the fridge.
-
This process should be repeated every year.
-
Before you start, read every instruction.
-
Have fun growing your own tomato plants!